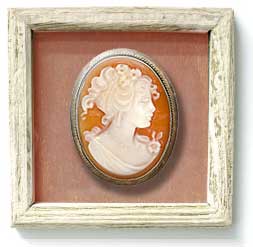
Jewelry Art
From Giftypedia
Who is it For
These simple, yet decorative do it yourself pieces of artwork will make a stunning presentation in anyone's home. They're the perfect gift for the woman who enjoys vintage jewelry, antiques or "shabby chic" decor. Your DIY jewelry art is an excellent gift choice for birthdays, holidays, Mother's Day, Sister's Day, Friendship Day, and especially as a housewarming gift to cover up her empty walls. You will be so pleased with your finished product that you may want to give several coordinating pieces at time, or make more for additional friends and family!
What to Do
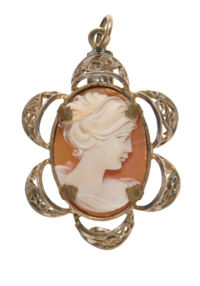
Begin by collecting an assortment of old brooches - whether they are from your grandmother's shoebox of fashion jewelry, or little treasures found at flea markets or garage sales. Also keep an eye out for old picture frames or shadow boxes, because you will need these as well. If you can't find the perfect frame or shadow box, you can pick one up inexpensively at your local craft store which will also carry most of the supplies you will need as well - including the jewelry pliers, scrapbook paper, sand paper and welding glue.
Tips
Before you begin this do it yourself project, make sure the brooch you are working with holds little or no value! You won't want to destroy a fine piece of jewelry that could potentially be worth some money.
Slimmer jewelry pliers with a fine tip will work best. Check, too, to see if the edges of the pliers are sharp. If they are, take a file and file the edges down. This will save you a lot of headaches later, because you won't have to polish out tool marks on your do-it-yourself jewelry art.[1]
| Supplies | Directions |
|---|---|
|
|
Related Guides
- Do It Yourself Gifts
- Gift Giving Etiquette for the Cheapskate
- Frugal Gifts for Frugal People
- Keepsake Gifts
References
- ↑ http://www.home-jewelry-business-success-tips.com/jewelry-pliers.html
- ↑ http://www.ehow.com/how_5036206_make-brooch-necklace.html


 Printer Friendly
